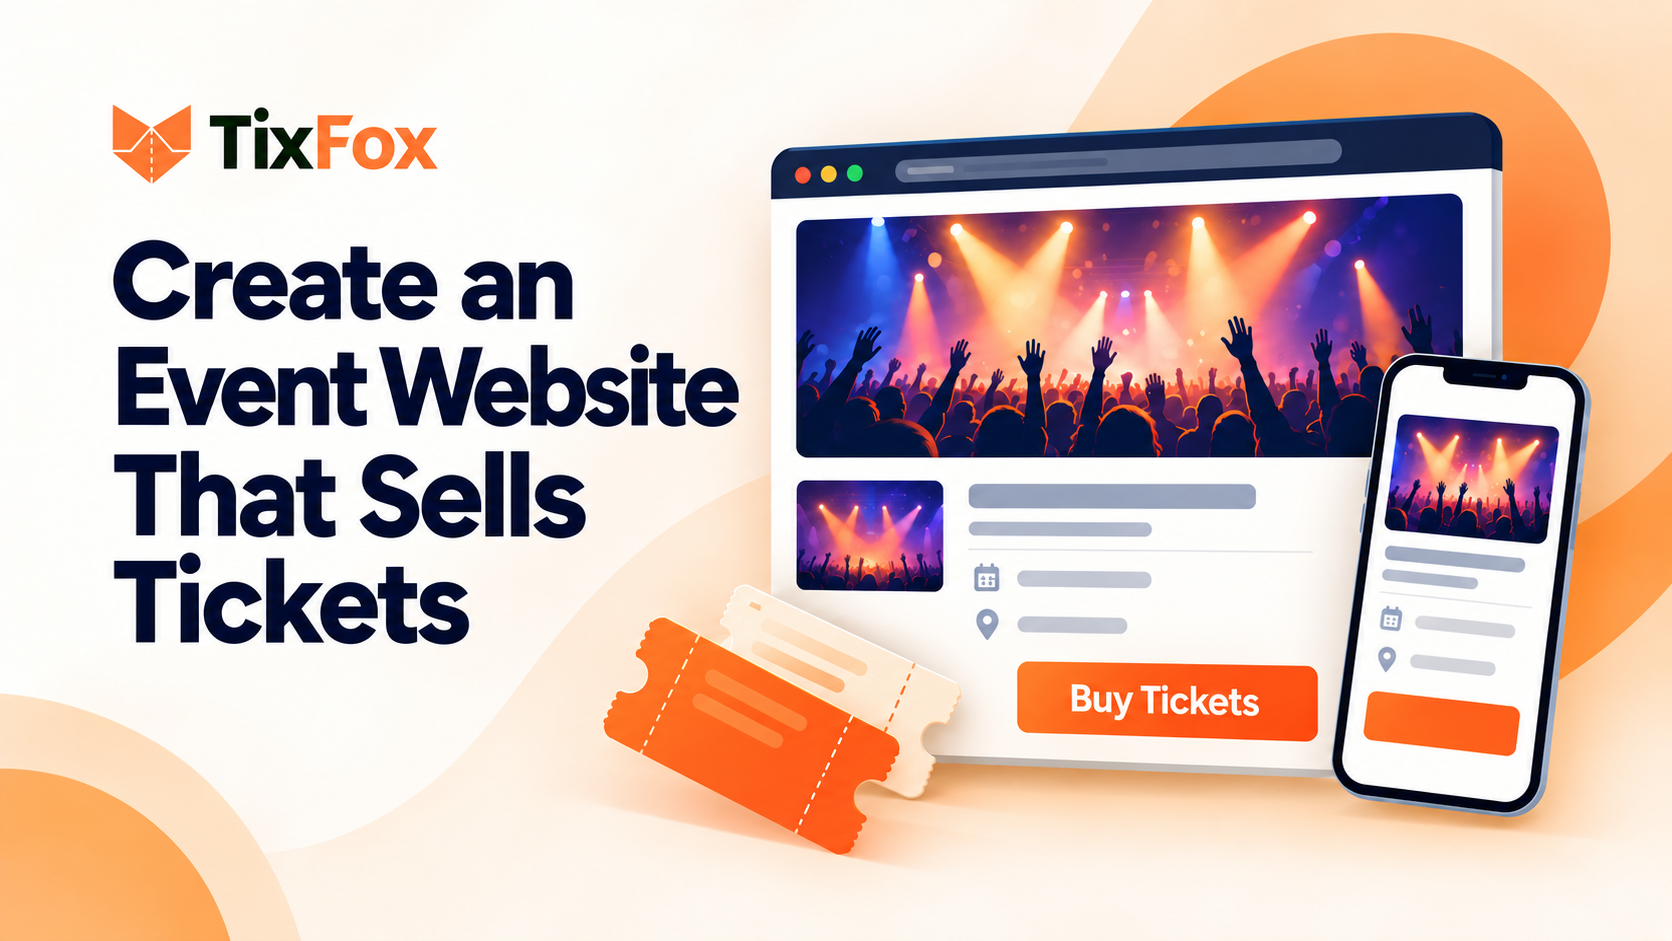
Someone sees your event on Instagram, taps the link, and lands on your page. They’re interested. Now they need a few answers: What’s happening? When is it? Where do I go? What does a ticket include?
If those answers are hard to find, they have a reason to put the decision off.
A useful event website puts the information and the booking button where people expect them. You can build a dedicated site, add a page to a website you already own, or use a standalone ticketing page. The right choice depends on how much information your event needs and how much time you have to maintain it.
This guide covers how to create an event website, what to include, and how to connect it to ticket sales.
Do you need an event website or just an event page?
An event website can contain several pages: a lineup, a schedule, venue information, sponsor profiles, and tickets. An event page puts the essentials in one place.
For a single comedy show, workshop, or fundraiser, one well-organized page may be enough. A festival with several stages, a long schedule, and travel information may benefit from a larger website.
Choose the smallest setup that gives attendees the information they need.
Your situation | A practical starting point |
|---|---|
You’re hosting one event and don’t have a website | A standalone event page with ticket checkout |
Your venue or organization already has a website | An event page on that site, connected to ticket sales |
You run several events throughout the year | An events overview with a separate page for each event |
You have extensive schedules, travel details, or sponsor information | A dedicated event website with clearly organized sections |
TixFox gives you a shareable event page, so you can start selling without building a separate website. If you already have a site, you can also embed ticket sales into it. See how TixFox works with your website.
1. Decide what visitors need to do
Before choosing a template, decide what the page should help people accomplish.
For a ticketed event, the main action will usually be buying a ticket. Other visitors may need to check accessibility information, compare dates, or understand the schedule before they book.
Write down the five questions you hear most often about your event. Use them to plan the page. If attendees keep asking whether children need tickets or whether parking is available, those answers deserve an obvious place.
Keep the main booking action consistent. Labels such as “Buy Tickets” or “Choose a Date” tell people what happens next. Use the same label wherever the button appears.
2. Choose where your event page will live
There are three straightforward routes.
Use a standalone event page. This is a useful starting point when you want one link to share in emails, social posts, and printed materials. Add your event information, image, and ticket options in your ticketing platform, then publish the page.
Add a page to your existing website. If your organization already has a site, give the event its own page. You can keep your existing navigation and branding while adding a ticket button or embedded checkout.
Build a dedicated website. Consider this when the event needs several pages or its own identity. Account for the work of keeping schedules, directions, and policies current after launch.
If you use WordPress or Squarespace, our guides explain how to connect ticket sales:
Whichever route you choose, make sure someone on your team can update the page when details change.
3. Put the essential details at the top
Visitors should be able to understand the event without scrolling through a long introduction.
Start with:
The event name and a short explanation of the experience
The date, start time, and time zone where relevant
The venue and city, or the format for an online event
The ticket price or a clear starting price
A visible booking button
For example, a fictional community fundraiser could open with:
An Evening of Local Comedy
Three local comedians, one community fundraiser.
Saturday, October 24 · Doors 6:30 p.m. · Show 7 p.m.
Community Arts Hall, downtown
General admission: $20, plus any applicable booking fees
Buy Tickets
That gives people enough information to decide whether to keep reading or book immediately. Make sure any dates, prices, and fee disclosures match what they will see at checkout.
4. Explain what the ticket includes
An event description should help people picture the experience and understand what they’re buying.
Explain who the event is for, what will happen, and what admission covers. For a workshop, that might mean the skill attendees will learn, whether materials are provided, and the experience level required. For a food festival, explain whether admission includes tastings or whether food purchases are separate.
Use specific details instead of broad promises. “A two-hour beginner pottery workshop with clay and tools included” tells a prospective attendee more than “an unforgettable creative experience.”
If you offer several ticket types, make their differences easy to compare. A buyer should understand what changes between general admission, VIP, and a weekend pass before selecting one.
5. Use images that help people decide
Choose a main image that represents the event. A performer photo, a view of the venue, or an image from a previous edition can help people understand what to expect. Use photos you own or have permission to publish.
Keep dates, prices, and booking instructions in the page text, even if they also appear on the artwork. Text is easier to update and avoids making visitors zoom into a poster to find essential information.
Compress large images and check their crop on mobile. Add descriptive alternative text to meaningful images, and keep text contrast strong enough to read comfortably.
Use your organization’s logo, colors, and tone consistently so the page feels connected to the promotion that brought people there. TixFox supports custom event themes for your page’s branding. Explore TixFox’s event tools.
6. Make the route to checkout clear
A visitor who has decided to attend should be able to find tickets immediately.
Place a booking button near the top of the page, then repeat it after longer sections where someone might make their decision. On a short page, one prominent ticket section may be enough.
If you use a separate ticketing link, send visitors to the relevant event. If you embed checkout, place it somewhere that fits the reading flow and test the complete purchase process.
For TixFox’s WordPress plugin, you can use an inline event embed or a ticket button that opens a purchase modal. The WordPress setup guide explains both options.
Keep checkout questions focused on information you need. Every required field asks the buyer to do more work. If you collect preferences or additional attendee details, make their purpose clear.
7. Answer practical questions before people ask
Add an FAQ section based on your event’s actual requirements. Useful questions include:
What time do doors open, and when does the event finish?
Is there an age restriction?
Is the venue accessible, and who can answer access questions?
Is parking available, or which public transport stops are nearby?
What is the refund or cancellation policy?
What should attendees bring?
How will they receive and present their tickets?
Be precise. “Accessible venue” may leave someone unsure about step-free entry, accessible bathrooms, or seating. Describe what you can confirm and provide a contact for questions.
Make important restrictions visible before checkout as well as in the FAQ. Someone should not discover an age limit or a separate equipment charge after paying.
8. Check the page on a phone
Open your event link on your own phone and follow the same path as a first-time visitor.
Can you identify the event, date, location, and price quickly? Is the ticket button visible? Can you read the description without zooming? Do ticket options and form fields fit the screen?
Check long event names, image crops, and any embedded ticket widget. Test links and complete a test booking using the testing method supported by your ticketing provider. Confirm that the buyer receives the expected confirmation and ticket information.
Ask someone who did not build the page to try it too. Their questions can reveal details your team assumed were obvious.
9. Give people a clear route to the page
Once the page is ready, use a consistent event link across your marketing.
Link to it from relevant pages on your website, your email announcements, and your social profiles. Add a QR code to printed materials where it helps people reach the same information.
For search, use a descriptive page title, a clear main heading, and useful event information in text. Include the event type and location where they help explain the page. For example, “Beginner Pottery Workshop in Austin” gives readers more context than “Our Next Event.”
Keep dates, venue details, and ticket availability current. When you change something important, update every place where attendees might look for it.
10. Track what happens after visitors arrive
Page traffic tells you how many people arrived. Ticket sales tell you whether those visits led to bookings.
Use tagged links for email, social posts, and partner promotions so you can distinguish the sources of your visitors and sales. TixFox supports UTM tracking and tracking pixel integrations to help you follow campaign results. See the available tracking tools.
Review questions from attendees alongside your numbers. If visitors repeatedly ask what VIP includes, improve that explanation. If checkout is awkward on a phone, fix it before sending more traffic.
When testing changes, start with one meaningful improvement, such as a clearer ticket description or a better-positioned booking button. Compare results carefully: different audiences, promotion schedules, and approaching event dates can also affect sales.
Your event website checklist
Before you share the page, check that:
The event name, date, time, venue, and price are easy to find.
The description explains the experience and what admission includes.
Ticket types, fees, and restrictions are clear before purchase.
The booking button takes visitors to the correct event or checkout.
Images and text work on a small screen.
Directions, access information, policies, and a contact are available.
The booking flow and confirmation have been tested.
Someone is responsible for keeping the page current.
Frequently asked questions
Can I sell event tickets without my own website?
Yes. You can use a standalone ticketing page and share its link through your marketing. A separate website becomes useful when you need more space for schedules, venue information, sponsors, or several events.
What should an event website include?
Start with the event name, description, date, time, location, ticket prices, and a clear way to book. Add images, a schedule, accessibility details, policies, and FAQs according to what attendees need to know.
Can I add TixFox ticket sales to an existing website?
Yes. TixFox provides website embed code and plugins for WordPress and Framer. Check your website builder’s support for embedded code and test how checkout appears on desktop and mobile.
Will a better event website automatically increase ticket sales?
There is no guarantee. A clear page can address unanswered questions and make booking easier, but sales also depend on the event, price, audience, and promotion. Track results to understand which changes help your attendees.
Create a page your attendees can use
Start with the questions people need answered before booking. Choose a page setup you can maintain, explain what the ticket includes, and test the purchase process on a phone.
Whether you want a standalone event page or ticket sales on an existing site, get started with TixFox and give attendees a clear way to book.