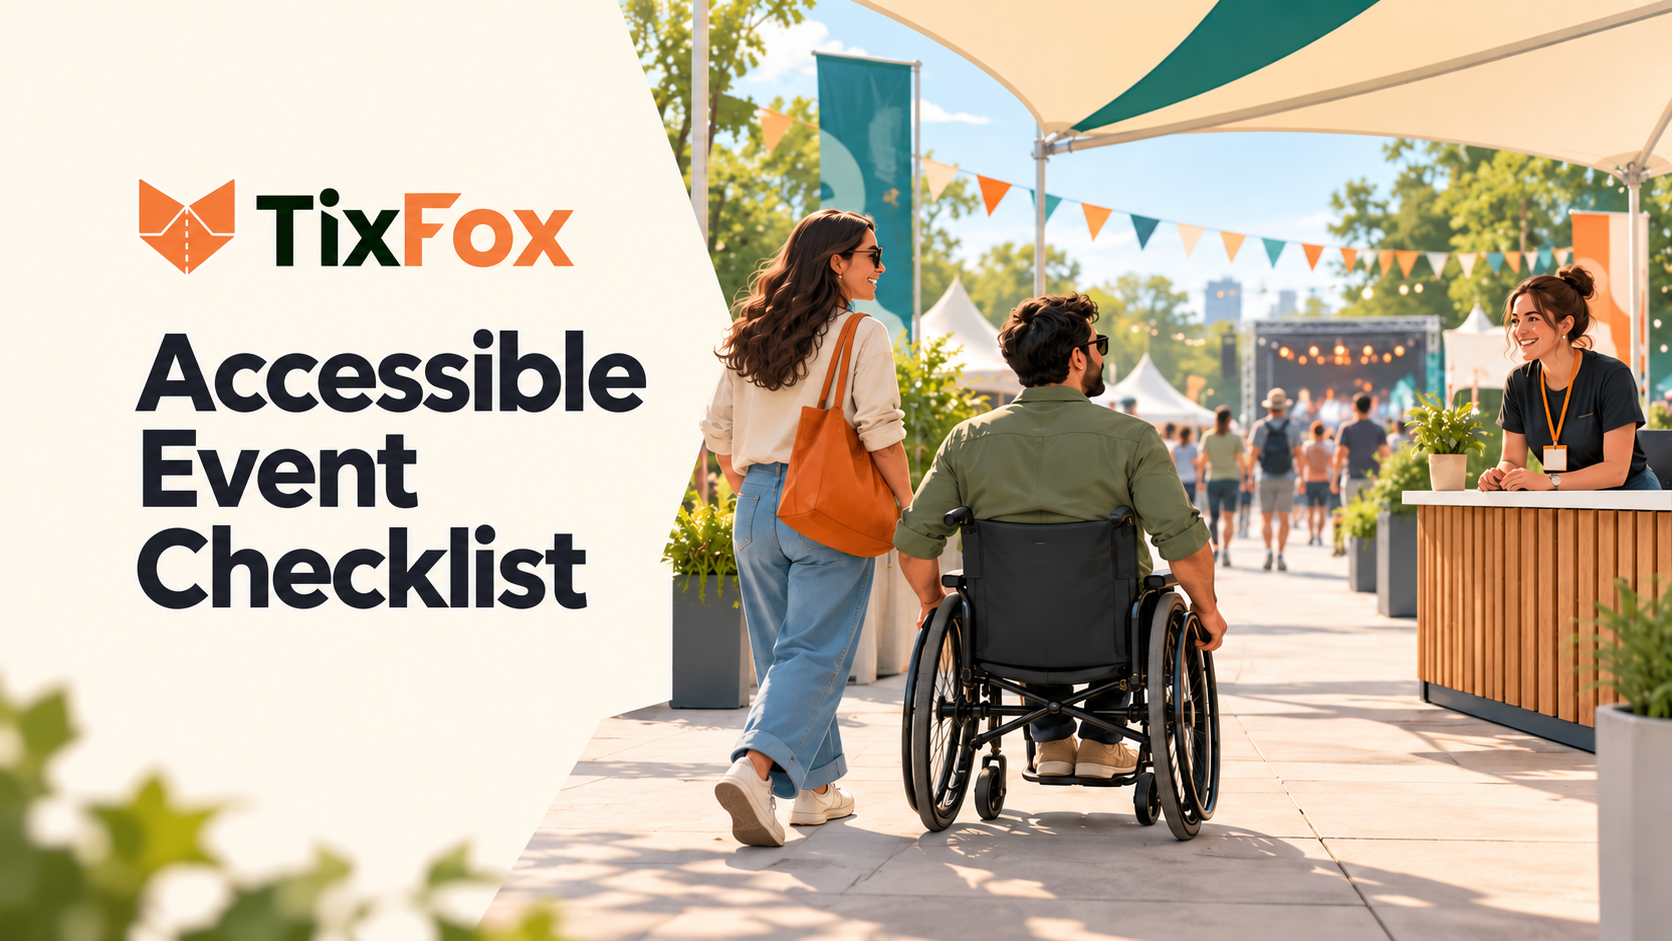
An attendee finds your event, likes the program and wants to book. Before buying, they need to know whether they can reach the entrance, use the facilities and take part. If the page only says “accessible venue,” they still have questions.
An accessible event plan turns those questions into decisions your team can act on. This guide follows the attendee journey from booking to departure, with a free checklist and sample accessibility information you can adapt for your event page.
Use it for a local show, workshop, festival or fundraiser. Start before booking the venue, and involve people with disabilities in reviewing the experience. Requirements vary by location and event; use the linked guidance to check the rules that apply to yours.
What should an accessible event checklist cover?
Cover the information people need before booking, the route through the venue, access to the program and the support available on the day. Assign an owner and a deadline to each task. A checked box should mean someone verified the arrangement, not that it was mentioned in a meeting.
Clear access information and a contact for requests
A usable ticket page and booking process
Arrival, entrances, queues and routes between activities
Restrooms, seating and access for performers
Communication support and accessible materials
Sensory information, breaks and quieter space
Staff instructions and emergency arrangements
1. Choose the venue around the whole visit
Walk the route from parking or drop-off to the entrance, ticket desk, activities and restrooms. Check surfaces, doors, lifts and changes in level with the venue team. For an outdoor event, inspect the route you will actually use, including temporary paths and facilities. A paved entrance is little help if the main activity is across uneven ground.
Consider performers, speakers and vendors as well as attendees. An accessible audience area does not resolve a stage that someone cannot reach. The W3C event checklist includes entrances, rooms, stages and bathrooms in venue planning.
Ask the venue to identify which arrangements are permanent and which require setup. Record who provides equipment, who installs it and when you can test it. Where a route or facility needs technical assessment, use the applicable standards and qualified advice rather than judging it by appearance.
2. Make event information and booking usable
Put the date, address, schedule, prices and access details in ordinary page text. Do not leave essential information only inside a poster. Use meaningful headings, image descriptions where needed and readable text contrast.
Test the complete booking journey with a keyboard. Can someone reach ticket choices, form fields and payment controls? Is it clear which control is selected? Check labels and error messages too. W3C’s Easy Checks can reveal common problems, but passing a quick review does not establish full accessibility.
Include a contact for booking assistance while working with your website or ticketing provider to resolve barriers. For US events with assigned seating, review the Department of Justice ticket-sales guidance: accessible seats must be offered through the same purchase methods and sales stages, with comparable pricing rules. An email-only request process is not a substitute for equal purchasing access.
For the rest of your page, use our guide to creating an event website that sells tickets. Add access information while you are writing the venue and arrival sections.
3. Give accommodation requests an owner
Create one route for requests and assign someone to monitor it. A suggested prompt is:
“What access arrangements would help you take part? Please contact [email or phone] so we can discuss the details with you.”
As a practical planning approach, ask about the arrangement needed rather than inviting people to disclose a medical history. Keep request details with the people responsible for fulfilling them. A general volunteer briefing can explain the procedure without sharing private attendee information.
Track each request through received, discussed, arranged and confirmed. Tell the attendee what has been agreed and where to go on arrival. If you suggest an early request date to allow preparation, keep accepting later requests and assess them rather than treating the date as an automatic cutoff.
4. Plan how people will follow the program
Review the actual content: spoken presentations, audience questions, music, demonstrations and printed material may need different support. Options can include qualified interpreters, live captioning, assistive listening systems and accessible electronic documents. Work with the attendee and service provider to identify what will be effective.
For covered US organizations, the Department of Justice effective communication guidance explains that effective communication depends on the nature, length, complexity and context of the interaction, along with the person’s usual communication method. Do not assume handwritten notes or automatic captions will meet every need.
Brief speakers to use microphones, describe important visuals and provide materials in advance where needed. Test sound feeds and caption displays before the audience arrives. Put those tests in the production schedule so they have time to be fixed.
5. Describe the sensory experience and facilities
Publish useful details about loud sound, flashing lighting, crowds and opportunities to take a break. Where practical, provide a quieter area and tell staff where it is. The Mid-Atlantic ADA Center’s event guide discusses quiet rooms and seating choices for people who find crowds difficult.
For example, a fictional evening market might explain:
“Amplified music runs beside the main stage from 6 to 9 p.m. The courtyard has seating away from the speakers.”
Only publish that description after checking the layout and sound plan. Do not call an area silent if performances can still be heard there.
Confirm accessible restroom locations, seating options and any food information vendors can reliably provide. Explain limitations precisely and work to remove barriers. A warning about a barrier does not make the barrier acceptable.
6. Brief the team and test the final layout
Give gate staff a short written plan: the entrance to direct people to, the access lead’s contact, where assistance is available and how to handle a ticket problem away from the main queue. Ask before helping or touching a mobility aid, and speak directly to the attendee.
For US events covered by the ADA, brief staff using the official service-animal guidance. Staff cannot demand certification or ask about a person’s disability. Where a dog’s role is not obvious, the guidance permits two limited questions about whether it is required because of a disability and what task it is trained to perform.
Walk the venue again after booths, barriers and equipment are installed. Check that the agreed routes and seating remain usable. Coordinate evacuation and assistance procedures with venue management, and make sure staff know who directs the response. Repeat the route check during the event when queues or furniture may move.
Free accessible event checklist template
Copy this worksheet into your planning document or spreadsheet. Replace the suggested timing with actual dates. Use status values such as not started, in progress, verified and needs action.
For each task, record the owner, status, verified details and any follow-up needed.
Before committing to the venue
Review arrival routes and facilities.
Owner: __________
Status: __________
Verified details and follow-up: __________
Before confirming the program
Confirm performer and stage access.
Owner: __________
Status: __________
Verified details and follow-up: __________
Before tickets go on sale
Assign the access lead and request process.
Publish verified access information.
Test ticket selection and checkout.
Owner for each task: __________
Status: __________
Verified details and follow-up: __________
As requests arrive
Confirm requested support with attendees.
Owner: __________
Status: __________
Verified details and follow-up: __________
Before event day
Book and test communication support.
Confirm seating and quieter space before approving the final layout.
Owner for each task: __________
Status: __________
Verified details and follow-up: __________
Before doors open
Brief staff and emergency contacts.
Inspect routes after setup.
Owner for each task: __________
Status: __________
Verified details and follow-up: __________
During the event
Check routes and support during the event.
Owner: __________
Status: __________
Verified details and follow-up: __________
After the event
Review feedback and unresolved barriers.
Owner: __________
Status: __________
Verified details and follow-up: __________
Sample accessibility information for your event page
Replace every bracketed item with confirmed information. Remove claims you cannot verify. This example is a starting structure; add details specific to your venue and audience.
Arrival and entrance: Use [entrance and address]. The route from [parking or drop-off] is [surface and route details]. [Explain steps, slopes, lifts or other relevant features and the arrangements available.]
Facilities and seating: Accessible restrooms are at [location]. Seating and viewing arrangements include [verified details]. [Explain how attendees can choose or arrange the option they need.]
Program access: [Describe confirmed captioning, interpretation, hearing support or accessible materials, including which sessions they cover.]
Sound and lighting: Expect [specific sound and lighting details]. A quieter space is available at [location and times, if confirmed].
Requests and questions: Contact [name or team] at [email and phone]. Please contact us by [planning date] where possible so we have time to arrange support. We will also review requests received after that date.
On the day: Find the access lead at [location], or contact [event-day contact]. Last updated [date].
Frequently asked questions
When should accessibility planning start?
Before committing to the venue. Include access arrangements in the budget and schedule, then verify the details again once the final layout is installed. Our 90-day event planning checklist can help you assign these tasks alongside the rest of production.
Can we describe the event as fully accessible?
Specific, verified information is more useful than a blanket claim. Describe routes, facilities and support so attendees can assess what works for them. Keep improving the event when you identify barriers.
What should we ask attendees afterward?
Ask which parts were difficult to use, whether agreed support was available and what would improve the next event. Give people a private way to respond. Turn each actionable issue into an owner and a task before planning the next edition.
Put the arrangements into your event plan
Start with the venue visit and one person responsible for follow-through. Publish what you have verified, respond to requests and test the arrangements with the people delivering them. Keep the checklist active until the event is over.
When your date, venue and ticket offer are ready, create your event on TixFox. Include clear access information wherever attendees find event details, and give your team a plan they can use at the door.