You announce your event, share the ticket link, and get a few bookings. Three days later, you’re staring at the same poster wondering what to post next.
An event social media calendar helps you plan beyond the announcement. It gives you space to introduce the lineup, explain the tickets, answer questions, and remind people about booking deadlines.
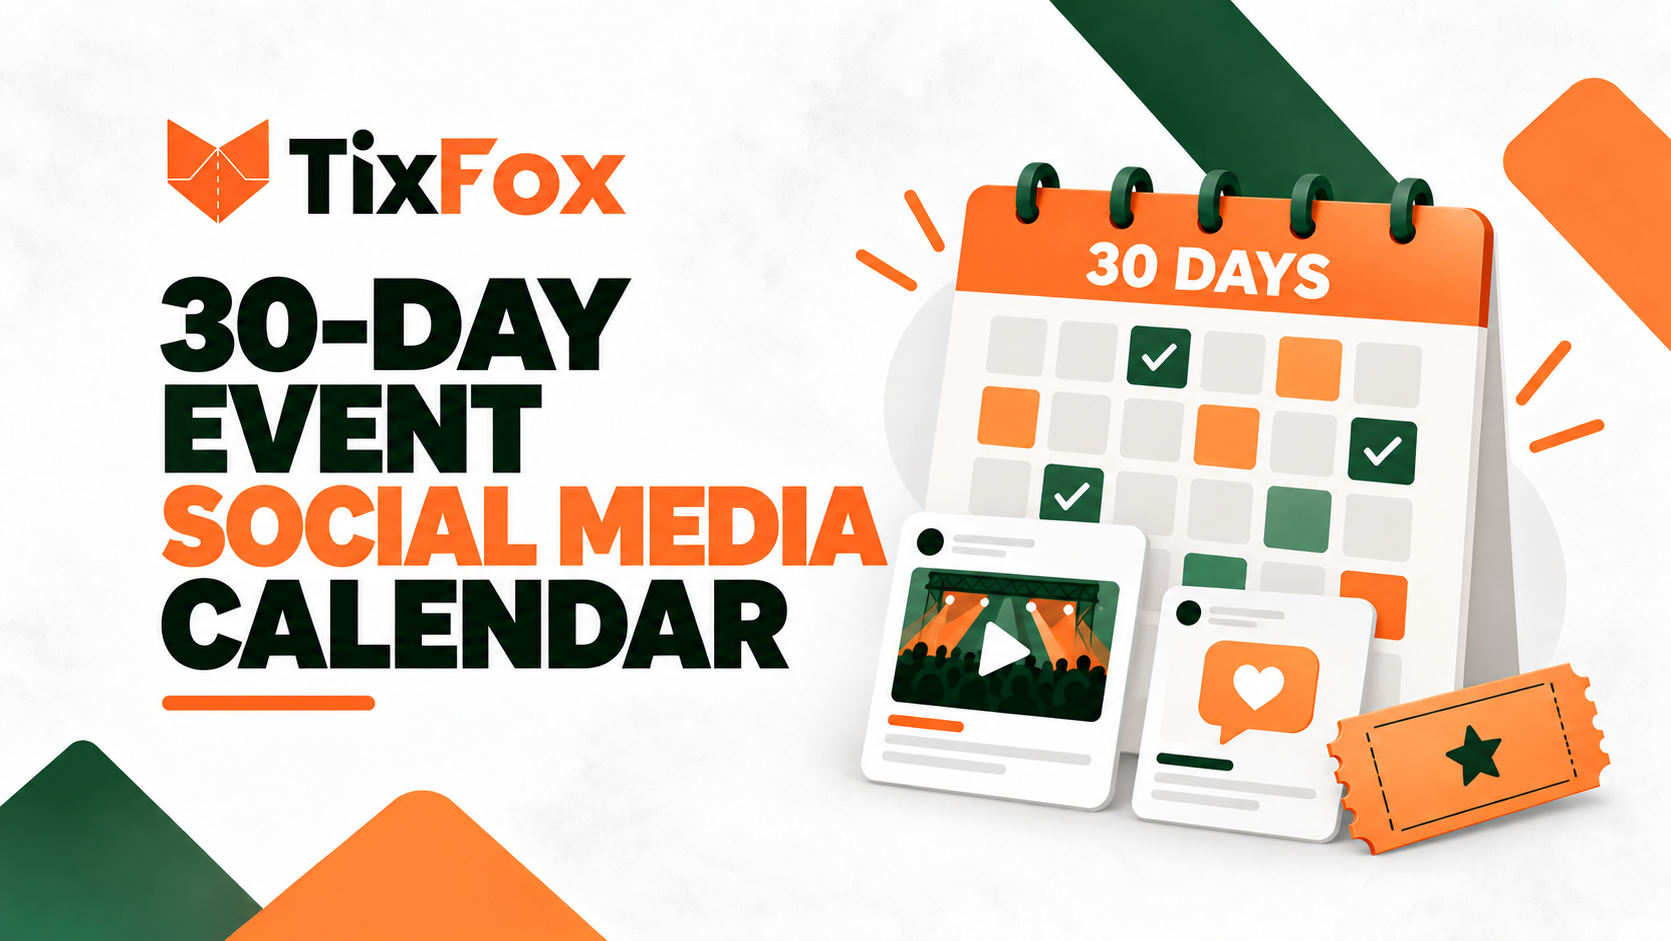
Below is a 30-day calendar you can adapt for a festival, workshop, fundraiser, comedy night, or local show. There are also caption examples and a free planning template to copy into a spreadsheet.
You don’t need a new feed post every day. Use the ideas that fit your event, turn smaller updates into Stories, and leave out anything you can’t support with accurate information.
Before you start posting
Check your ticket page first. Someone arriving from social media should be able to find the date, location, price, and what admission includes without hunting for them. Open the page on your phone and check the booking process.
If it needs work, start with our guide to creating an event website that sells tickets.
Then choose the channels you can realistically maintain. If your past attendees follow your Facebook page, start there. If vendors and performers already share your event on Instagram, prepare content they can use. You can test other channels once you have the main campaign covered.
Gather a few materials before scheduling:
Event artwork with the correct date and location
Venue photos
Confirmed performer, speaker, or vendor details
Short clips of rehearsals, demonstrations, or preparation
Ticket options and actual sales deadlines
Answers to common questions about entry, parking, and accessibility
Assign someone to check scheduled posts. Prices, availability, and event details can change after a caption is written.
The 30-day event social media calendar
Here, Day 1 is 29 days before your event, and Day 30 is event day. Move deadline posts to the dates that apply to your tickets.
The format column is a suggestion. A venue introduction could be a short video, a photo post, or a few Stories, depending on the material you have.
Day | Format | What to post | Next step for the reader |
|---|---|---|---|
1 | Announcement | Introduce the event, date, location, and main attraction. | View tickets. |
2 | Venue photos | Show where it’s happening and what the space looks like. | Check the location. |
3 | Carousel | Explain what admission includes and what costs extra. | Compare tickets. |
4 | Short video | Introduce the organizer and why you’re running the event. | Ask a question. |
5 | Spotlight | Introduce a confirmed performer, speaker, or vendor. | Explore the lineup. |
6 | Story question | Ask what people want to know before booking. | Send a question. |
7 | FAQ post | Answer a question you received this week. | Read the event details. |
8 | Preparation clip | Show a rehearsal, demonstration, or setup task. | See what to expect. |
9 | Schedule post | Walk through the main activities and their confirmed times. | Plan the visit. |
10 | Partner post | Share a partner’s contribution to the event. | Meet the participants. |
11 | Attendee feedback | Share genuine feedback from a previous edition. For a new event, explain a confirmed feature. | Learn more. |
12 | Arrival guide | Explain parking, public transport, or the route to the entrance. | Save the directions. |
13 | Spotlight | Introduce another attraction with a photo or short preview. | See the lineup. |
14 | Audience post | Explain who would enjoy the event and any relevant age restrictions. | Share with someone interested. |
15 | Update | Announce a confirmed addition or show preparation progress. | Check what’s new. |
16 | Preview video | Let a performer, speaker, or instructor show part of their contribution. | View tickets. |
17 | Ticket comparison | Explain the differences between admission options. | Choose a ticket. |
18 | Story poll | Ask a light question about the confirmed program. | Vote. |
19 | Access information | Explain accessibility arrangements and where to ask for assistance. | Contact the organizer. |
20 | Partner content | Reshare an approved post from a vendor, speaker, or community partner. | Visit the event page. |
21 | Experience post | Highlight specific things attendees can do, see, or learn. | Book a place. |
22 | Deadline reminder | Explain a genuine sales deadline or price change. If none applies, highlight another attraction. | Book before the deadline. |
23 | What to bring | List required items and relevant entry rules. | Save the checklist. |
24 | Preparation update | Show what your team is working on this week. | View event details. |
25 | FAQ post | Answer the questions still appearing in comments and messages. | Find the answer. |
26 | Bring-a-friend post | Invite people to share the event with someone who would enjoy it. Mention group offers only if available. | Share the ticket link. |
27 | Entry guide | Explain opening times, ticket presentation, and where to queue. | Prepare for arrival. |
28 | Availability update | State current ticket availability and whether walk-up sales are planned. | Check remaining tickets. |
29 | Tomorrow’s reminder | Confirm the time, address, and important updates. | Review arrival details. |
30 | Event-day Stories | Share live information, approved event moments, and any entry changes. | Check the latest update. |
Before publishing an availability post, check the actual inventory. “Only 20 tickets left” should mean there are 20 tickets left in the category you’re describing.
If online sales close before event day, bring the final booking reminders forward. Don’t invite people to buy at the door unless walk-up sales are confirmed.
What to say as the event gets closer
Early in the campaign, assume some readers know nothing about your event. Explain the experience and the essentials: when, where, who it’s for, and what a ticket buys.
In the middle of the month, show more detail. A food festival can introduce vendors and their dishes. A workshop can show the materials or a finished project. A comedy night can share an approved performer clip.
During the final week, check the questions in your inbox. If several people are asking about parking or opening times, answer those questions publicly. They may be holding up other bookings too.
Keep confirmed attendees in mind. Once someone has bought a ticket, a clear arrival guide is more useful than another sales pitch.
Caption examples you can adapt
Replace the bracketed details before publishing. Each caption should describe your actual event.
Announcing the event
[Event name] is happening at [venue] on [date].
Spend [the afternoon/evening] enjoying [specific activity], with [confirmed highlight].
Tickets include [main inclusions]. [Mention an important separate cost or restriction.]
See the schedule and book: [ticket link or link instruction].
For example, a workshop announcement should tell people what they’ll make or learn. “An unforgettable creative experience” gives them less to work with than “Learn three printmaking techniques and take home your own set of cards.”
Introducing a vendor or performer
[Name] is joining us at [event name].
They’ll be [specific contribution]. If you’ve been wanting to [relevant experience], this is your chance to try it.
Find them at [confirmed location or time].
Full lineup: [event link or link instruction].
Explaining the ticket
Wondering what your [ticket type] ticket covers?
Admission includes [inclusions]. [Other items] are sold separately.
The event runs from [time] to [time] at [venue].
Check the options: [ticket link or link instruction].
Sharing a real deadline
Early-bird tickets close at [time and time zone] on [date].
Tickets are currently [price]. After that, [accurate price change or availability change].
See the full ticket details: [ticket link or link instruction].
Update or remove deadline messages once the offer ends. Anyone finding an older post should still be able to understand the current offer.
Preparing attendees for tomorrow
Joining us at [event name] tomorrow?
Doors open at [time] at [venue and address]. Bring [required items].
Parking, transport, and entry details: [information link].
[Accurate statement about remaining tickets or walk-up sales.]
Free event social media calendar template
Copy this table into Google Sheets or Excel. Add one row for each post you plan to publish.
Date | Channel | Format | Post idea | Asset needed | Caption | CTA | Link | Owner | Status | Results |
|---|---|---|---|---|---|---|---|---|---|---|
[Date] | [Channel] | [Format] | [Topic] | [Photo or clip] | [Draft copy] | [Next action] | [URL] | [Name] | [Draft / approved / scheduled / published] | [Clicks, sales, feedback] |
Fill in confirmed deadlines first, then add announcements, spotlights, and practical information around them.
Leave a few open slots. You may need room for a lineup change, a timely question, or an update from the venue.
How to keep the workload manageable
Use the material you already have. A short vendor interview can provide a video, a photo caption, and an answer to “What food will be available?” You don’t need a separate shoot for each post.
Give partners accurate details and approved artwork they can share. Ask them to use the correct ticket link, and check that their captions match your current dates and offer.
Keep social posts and emails consistent. If an early-bird deadline appears in an email, it should match the deadline on your event page and social accounts. Our event email marketing guide can help you plan those messages alongside this calendar.
Review the next week’s posts before they go live. Remove anything that has become outdated and add answers to questions you’re receiving.
Track bookings as well as engagement
Likes and comments can tell you what caught someone’s attention. They don’t tell you whether that person bought a ticket.
Use tagged links to help compare traffic and recorded purchases from different channels. A simple naming system might look like this:
Parameter | Example | What it identifies |
|---|---|---|
|
| The platform sending the visitor |
|
| The type of promotion |
|
| The event campaign |
|
| The specific link or content version |
TixFox supports UTM tracking for event links and provides a free UTM builder.
Give links different content labels when you can share them separately. If several feed posts all direct people to the same profile link, that link won’t necessarily identify which post prompted the visit.
Review ticket-page visits, recorded purchases, ticket quantities, and revenue. For paid posts, record advertising spend too.
Use those results with judgment. Someone might discover the event through Instagram and later buy through a friend’s message. Link tracking helps you see recorded sources, but it may not capture every step that influenced the purchase.
Frequently asked questions
Do I need to post every day?
No. The calendar gives you daily ideas to choose from. Combine related topics, use Stories for smaller updates, and focus on a schedule your team can maintain.
A useful post answering a booking question is worth more than a filler post published just to complete the calendar.
What if I don’t have photos from previous events?
Show the venue, confirmed participants, materials, rehearsals, and current preparation.
Use accurate descriptions of what attendees will experience. If you use reference images or mockups, label them clearly.
Can this calendar work for a longer campaign?
Yes. Spread the ideas across a longer period and add content as details are confirmed. Keep deadline reminders near the actual deadlines and arrival information close to event day.
Plan the first week
Start with seven useful posts. Confirm their details, gather the images or clips, and assign someone to publish and respond.
Then use the questions and results from that week to improve the next one. You’ll have a schedule to work from without having to invent every post at the last minute.
When your date, event details, and ticket options are ready, create your event on TixFox and give interested readers a clear place to book.